String Management
You can view all the project’s strings and manage strings settings via Sources > Strings.
Changing Strings Visibility
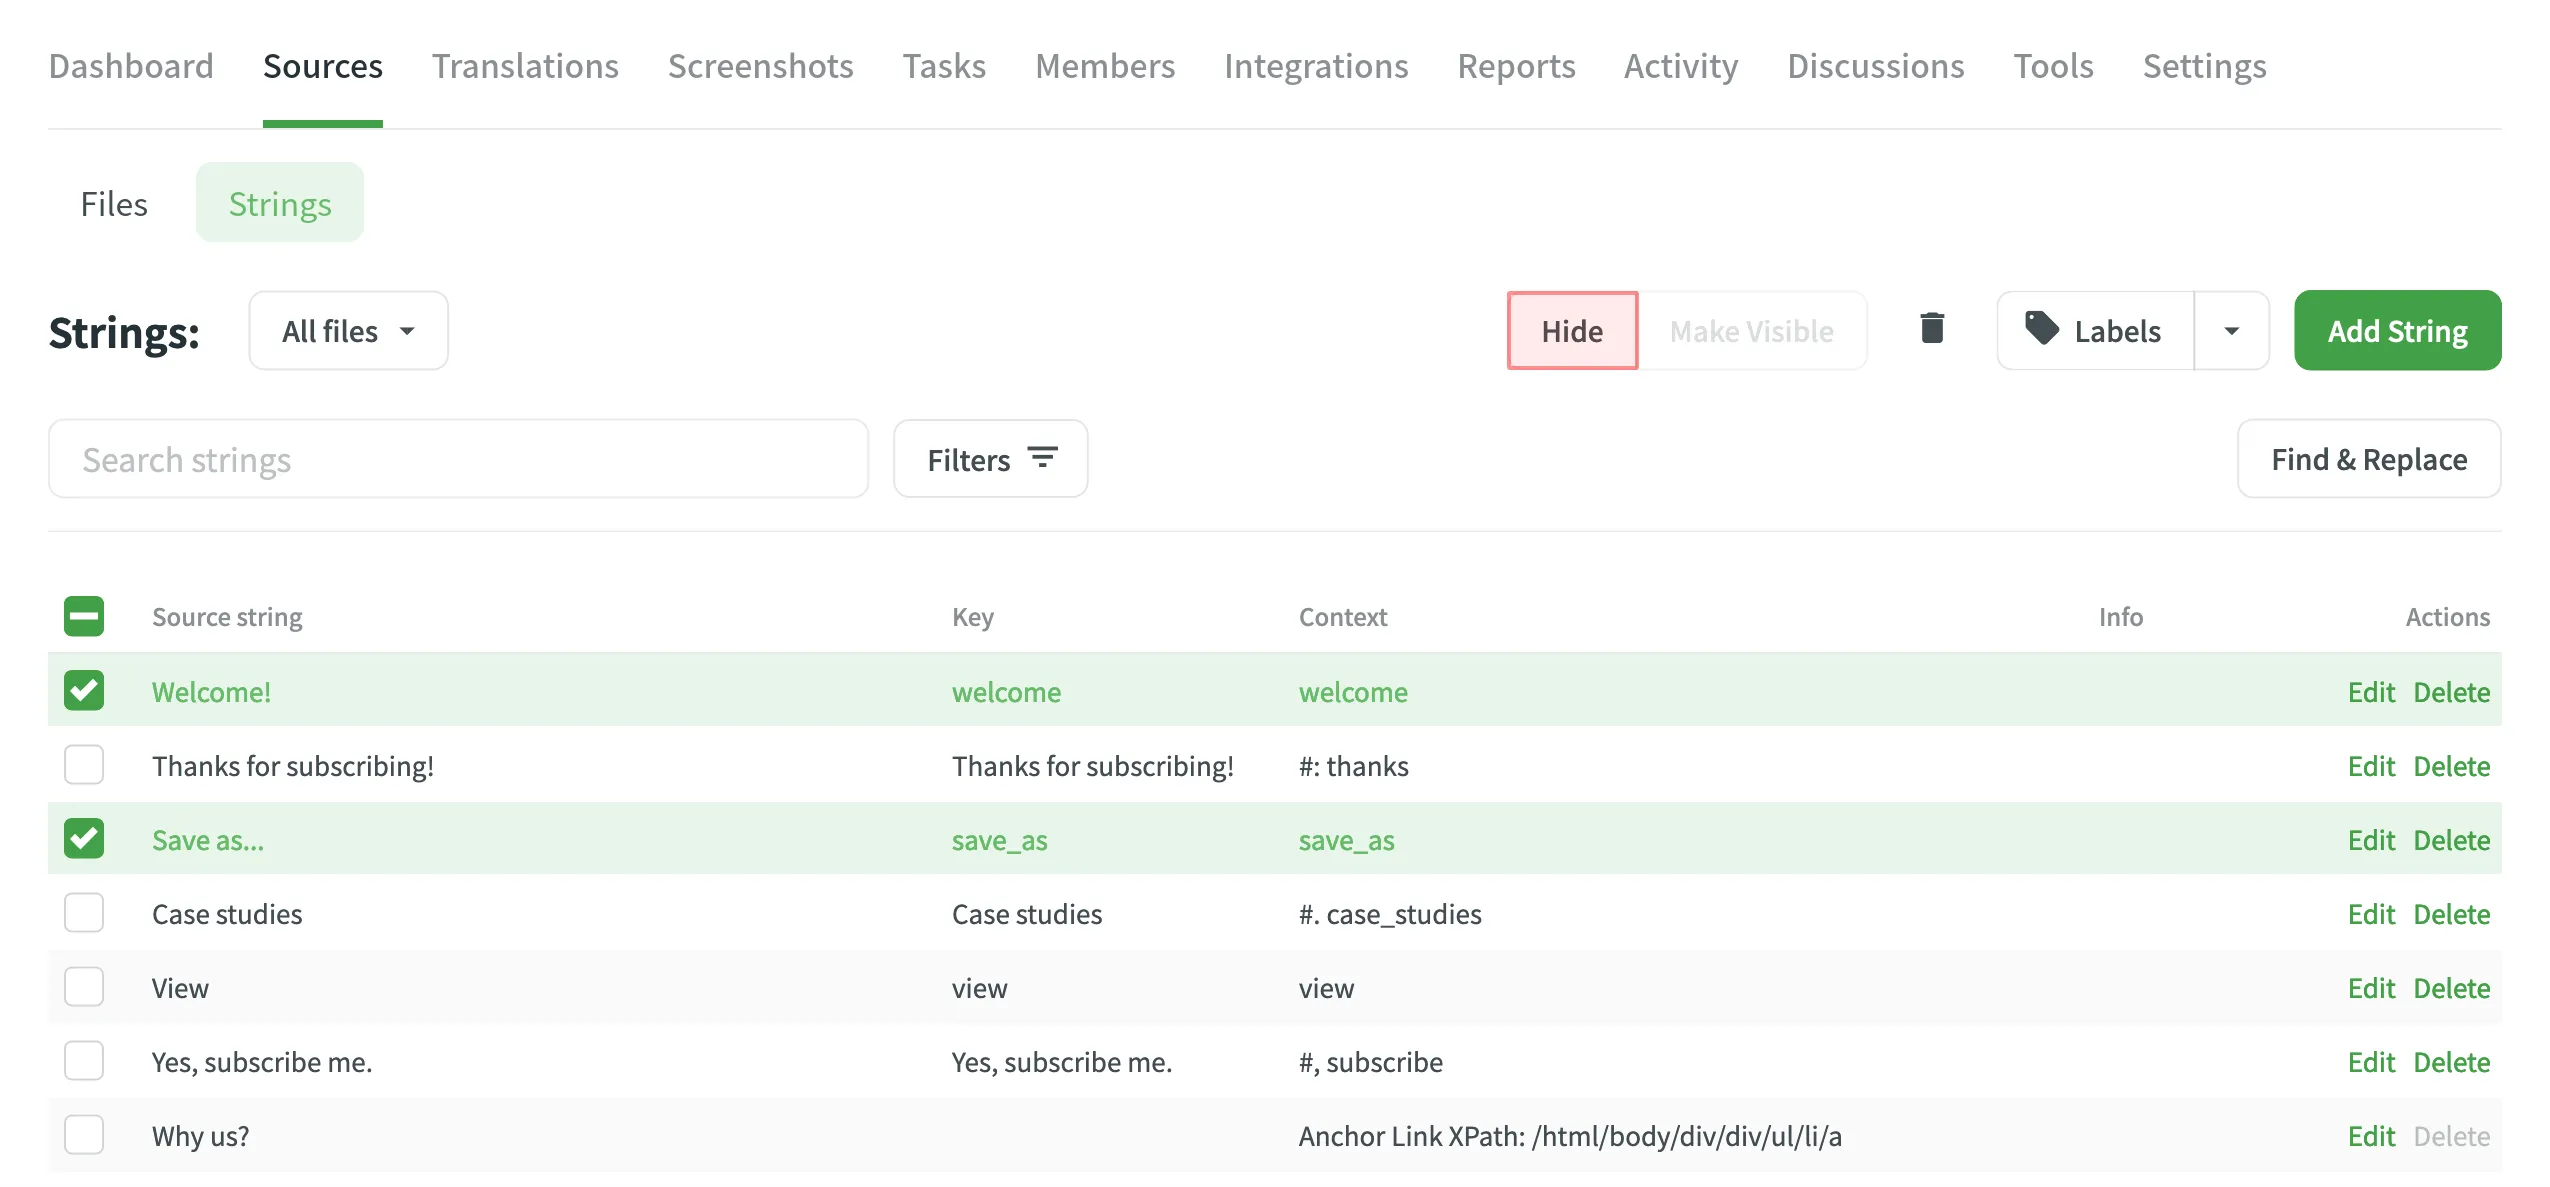
If some strings contain data that is not supposed to be translated (e.g., placeholders, other technical entities), you can hide them from translators. To do this:
- Open your project and go to Sources > Strings.
- Select the necessary strings by clicking the checkbox next to each one.
- Click Hide.
Filtering Strings
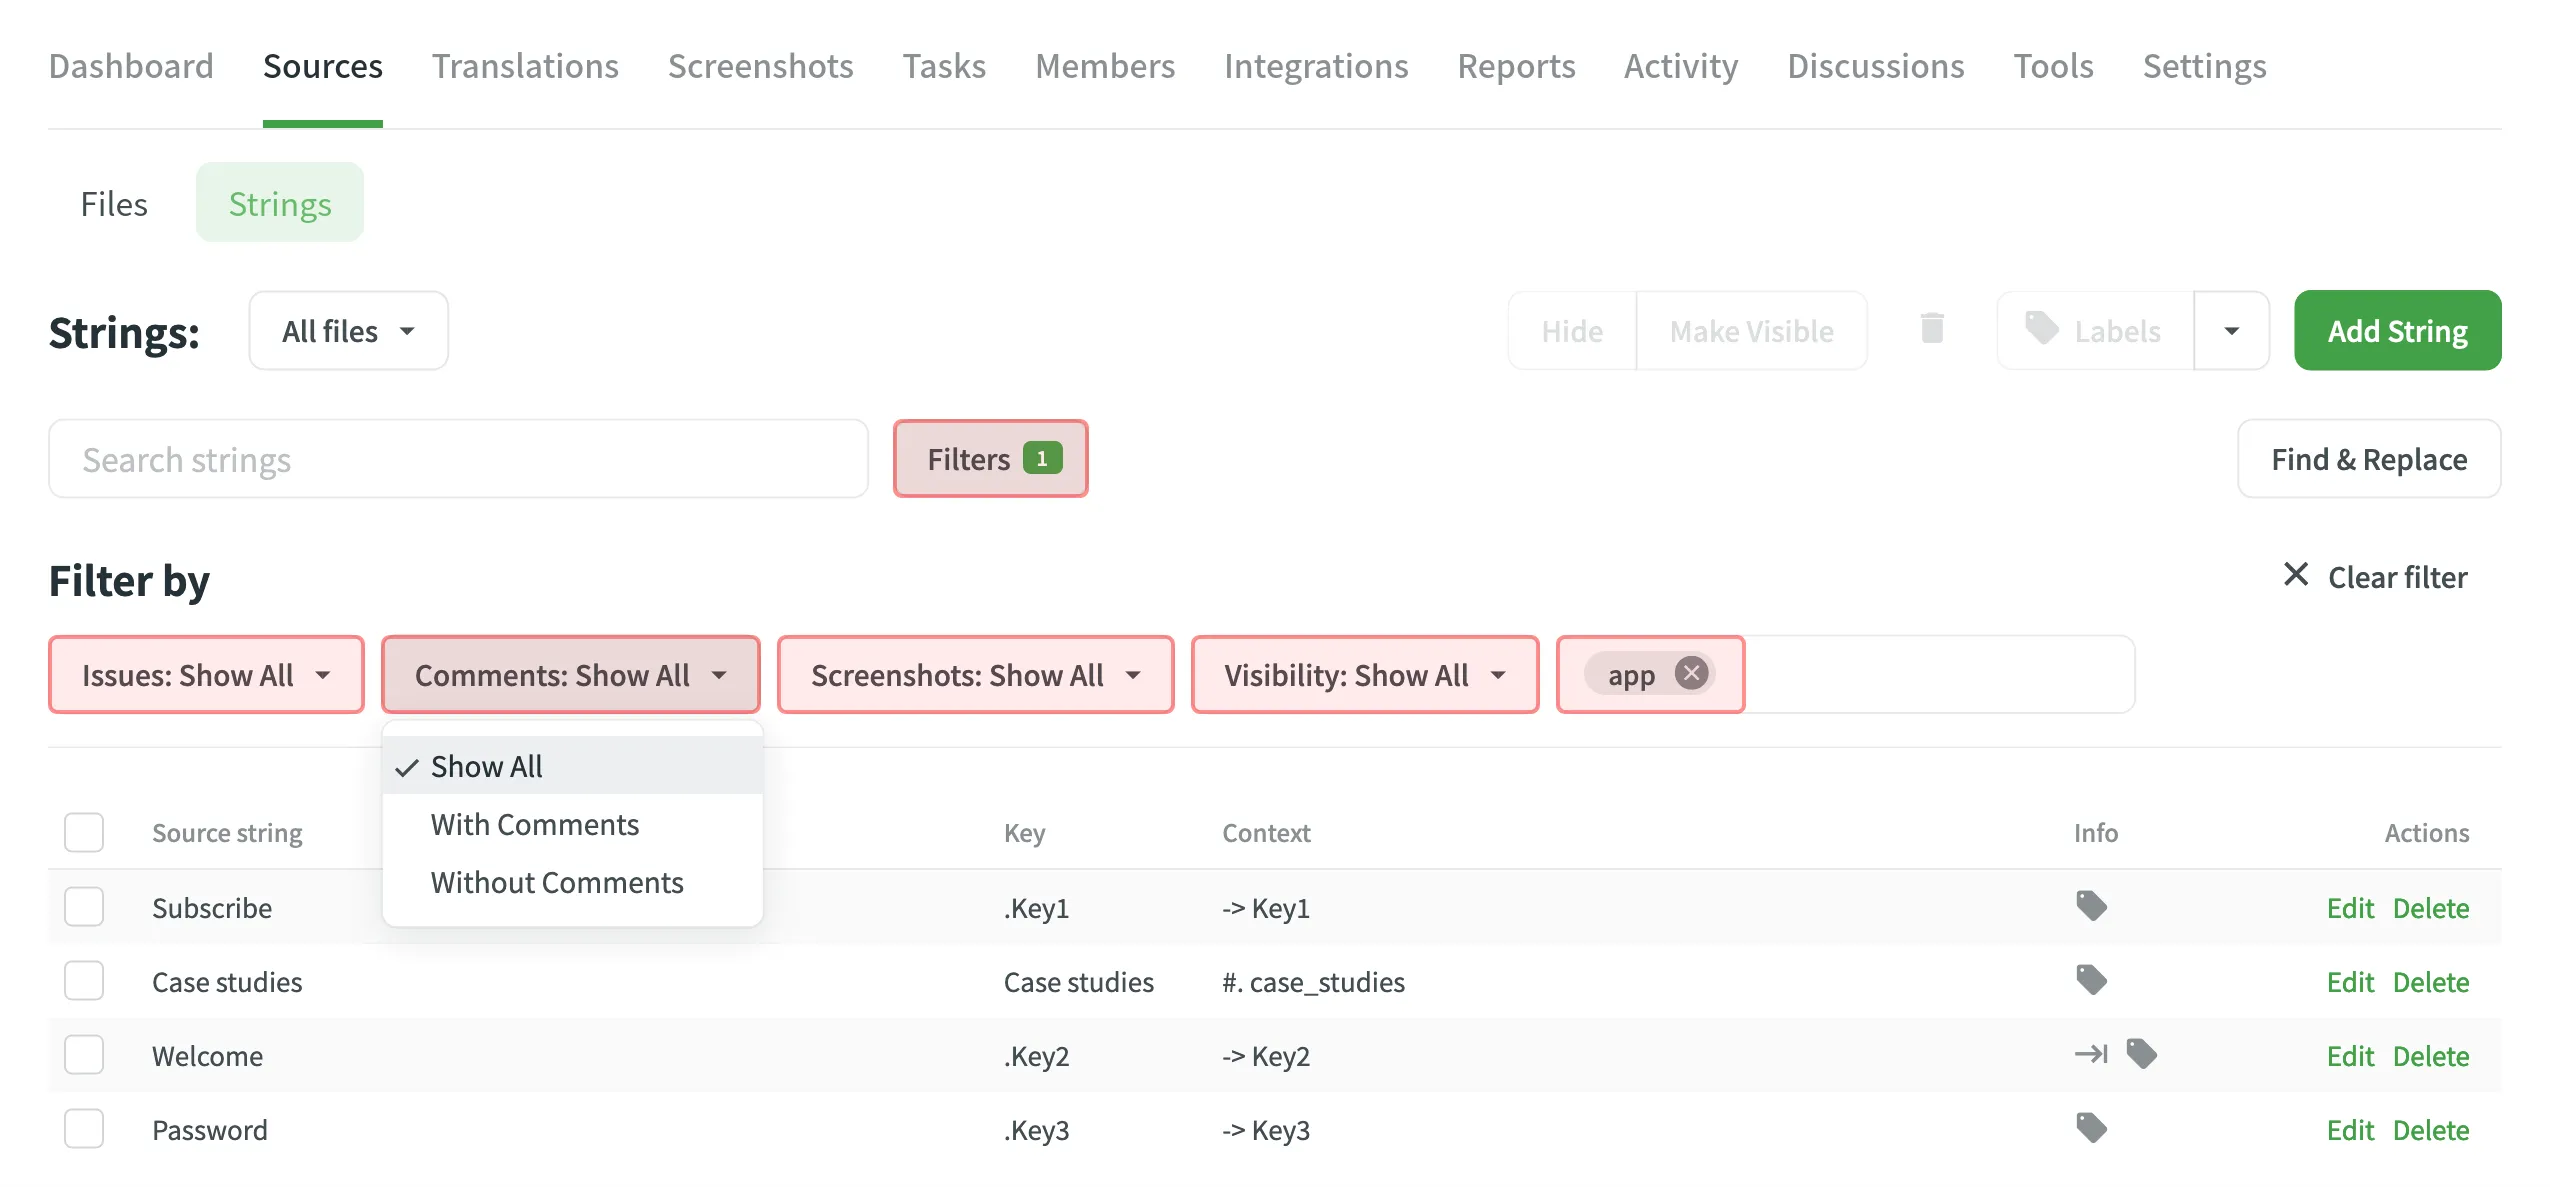
By default, all source strings of the project are displayed in Sources > Strings. If necessary, you can filter out strings using the available filter options (Issues: Show All, With Unresolved Issues, Without Unresolved Issues; Comments: Show All, With Comments, Without Comments; Screenshots: Show All, With Screenshots, Without Screenshots; Visibility: Show All, Hidden and Visible) and project labels.
Adding Strings
You can add strings to your projects directly in Crowdin.
To add a new string, follow these steps:
- Open your project and go to Sources > Strings.
- Click Add String.
- In the appeared dialog, enter the necessary details for the string:
- String – specify the text that needs translation.
- (Optional) Plurals – select this option to add plural forms and enter the text for each form based on the project’s source language requirements.
- Identifier – specify a unique key for the string, often used for referencing the translated text in the application.
- (Optional) Context – add additional information to help translators understand the intended meaning.
- (Optional) Labels – specify labels to organize strings or provide extra context.
- (Optional) Maximum Translation Length – set a character limit for the translation.
- (Optional) File-specific identifiers – specify unique keys for each file format when adding the string to multiple files. This ensures that the string meets the different identifier requirements based on the file formats it will be used in.
- Files – choose the source files where this string should be added.
- Click Add to add the new string to your project.
- Open your project and go to the Strings tab.
- Click Add String.
- In the appeared dialog, enter the necessary details for the string:
- Branches – choose the branches where this string should be added.
- String – specify the text that needs translation.
- (Optional) Plurals – select this option to add plural forms and enter the text for each form based on the project’s source language requirements.
- Identifier – specify a unique key for the string, often used for referencing the translated text in the application.
- (Optional) Context – add additional information to help translators understand the intended meaning.
- (Optional) Labels – specify labels to organize strings or provide extra context.
- (Optional) Maximum Translation Length – set a character limit for the translation.
- (Optional) File-specific identifiers – specify unique keys for each branch when adding the string to multiple branches. This ensures that the string meets the different identifier requirements based on the file formats it will be used in.
- Click Add to add the new string to your project.
Read more about project types.
String Editing
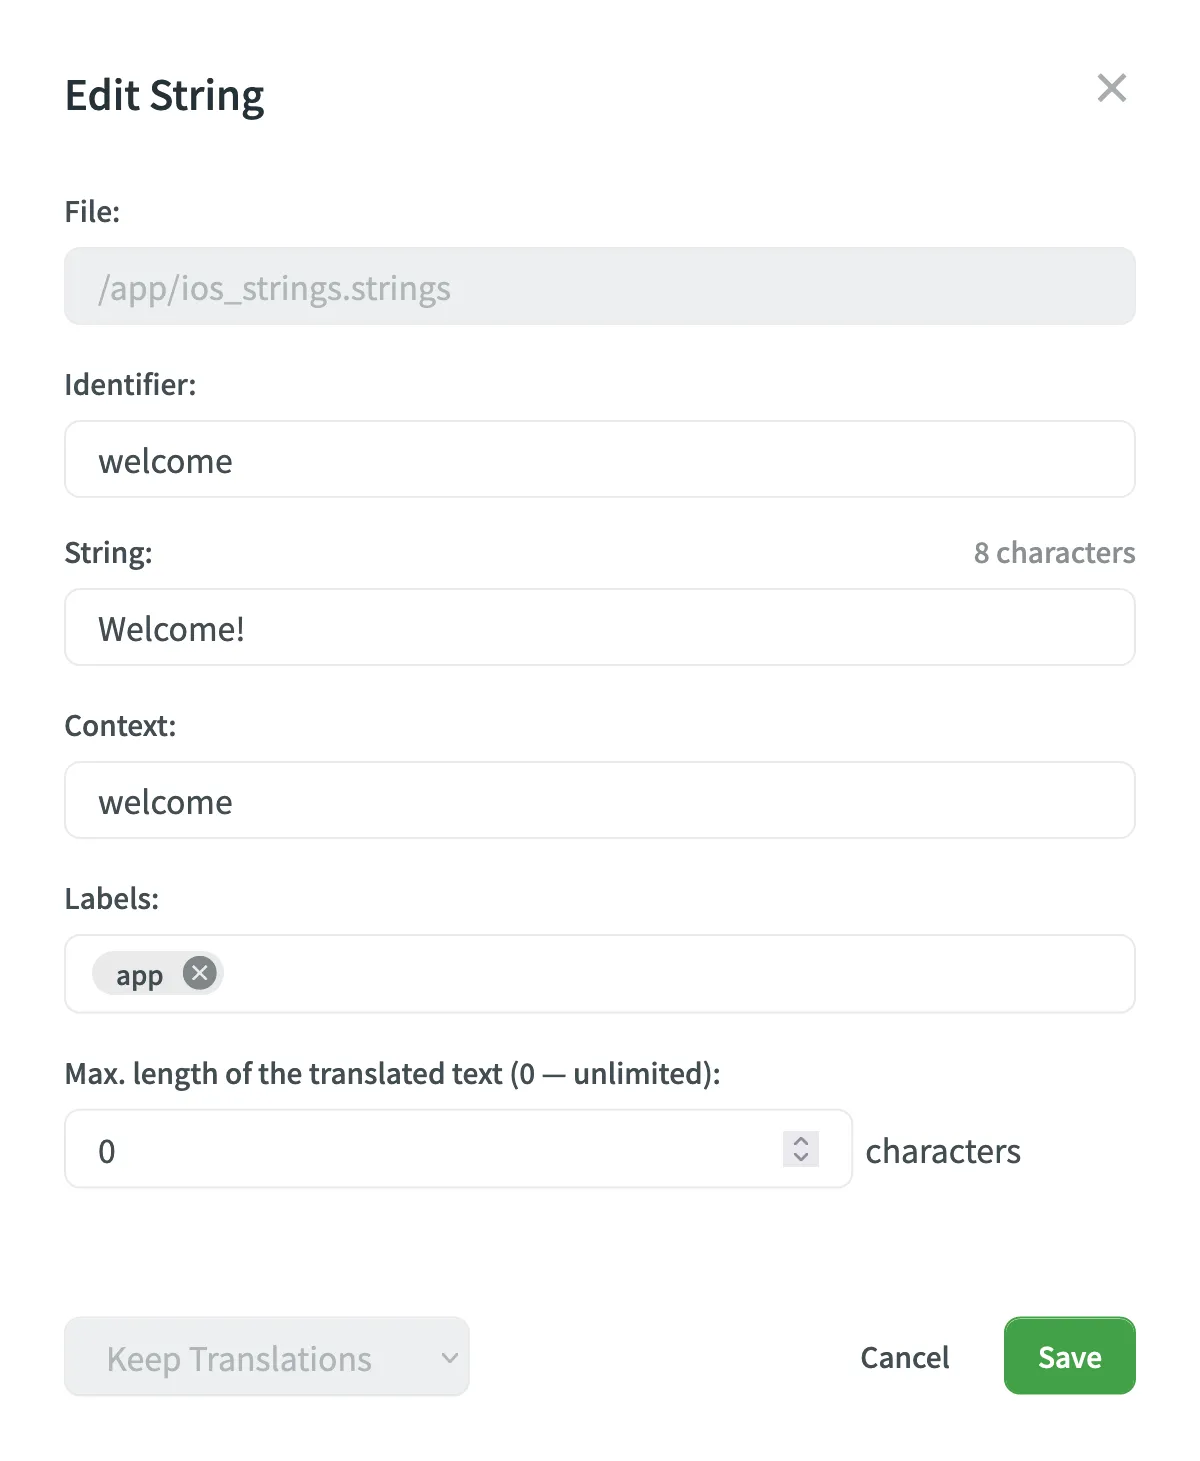
You can add context to the string, add or remove labels, set the max. length of the translation. Once the translation limits are exceeded, the system notifies the contributor that the translation should be shorter.
To edit some particular word or phrase that appears in multiple source strings, you can use the Find & Replace feature in Sources > Strings.
Formats That Support Online Editing
Some file formats allow editing (adding, deleting, and modifying) of the source text and string identifiers directly in Crowdin, so you can make the necessary corrections without having to update the source file via Sources > Files.
The following file formats support editing the source text and string identifiers directly in Crowdin:
- Android XML
- iOS Strings
- Apple Strings Catalog
- JSON
- i18next JSON
- Chrome JSON
- XLIFF 1.2
- XLIFF 2.0
- Angular XLF
- GNU Gettext PO
- Unreal Engine Gettext PO
- YAML
- RESX
- CSV
- XLSX
- ARB
- Java Properties
- Properties Play
- Properties XML
Labels
Use labels in your project for an easy way to add context to the strings or organize them by certain topics. Labels are also useful while creating translation and proofreading tasks or searching for specific strings in the Editor with the help of Advanced Filter.
There are a few possible ways you can add labels to the strings.
Add labels to one string at a time via the Edit String dialog
- Click Edit on the string in the list.
- Select needed labels in the Labels field.
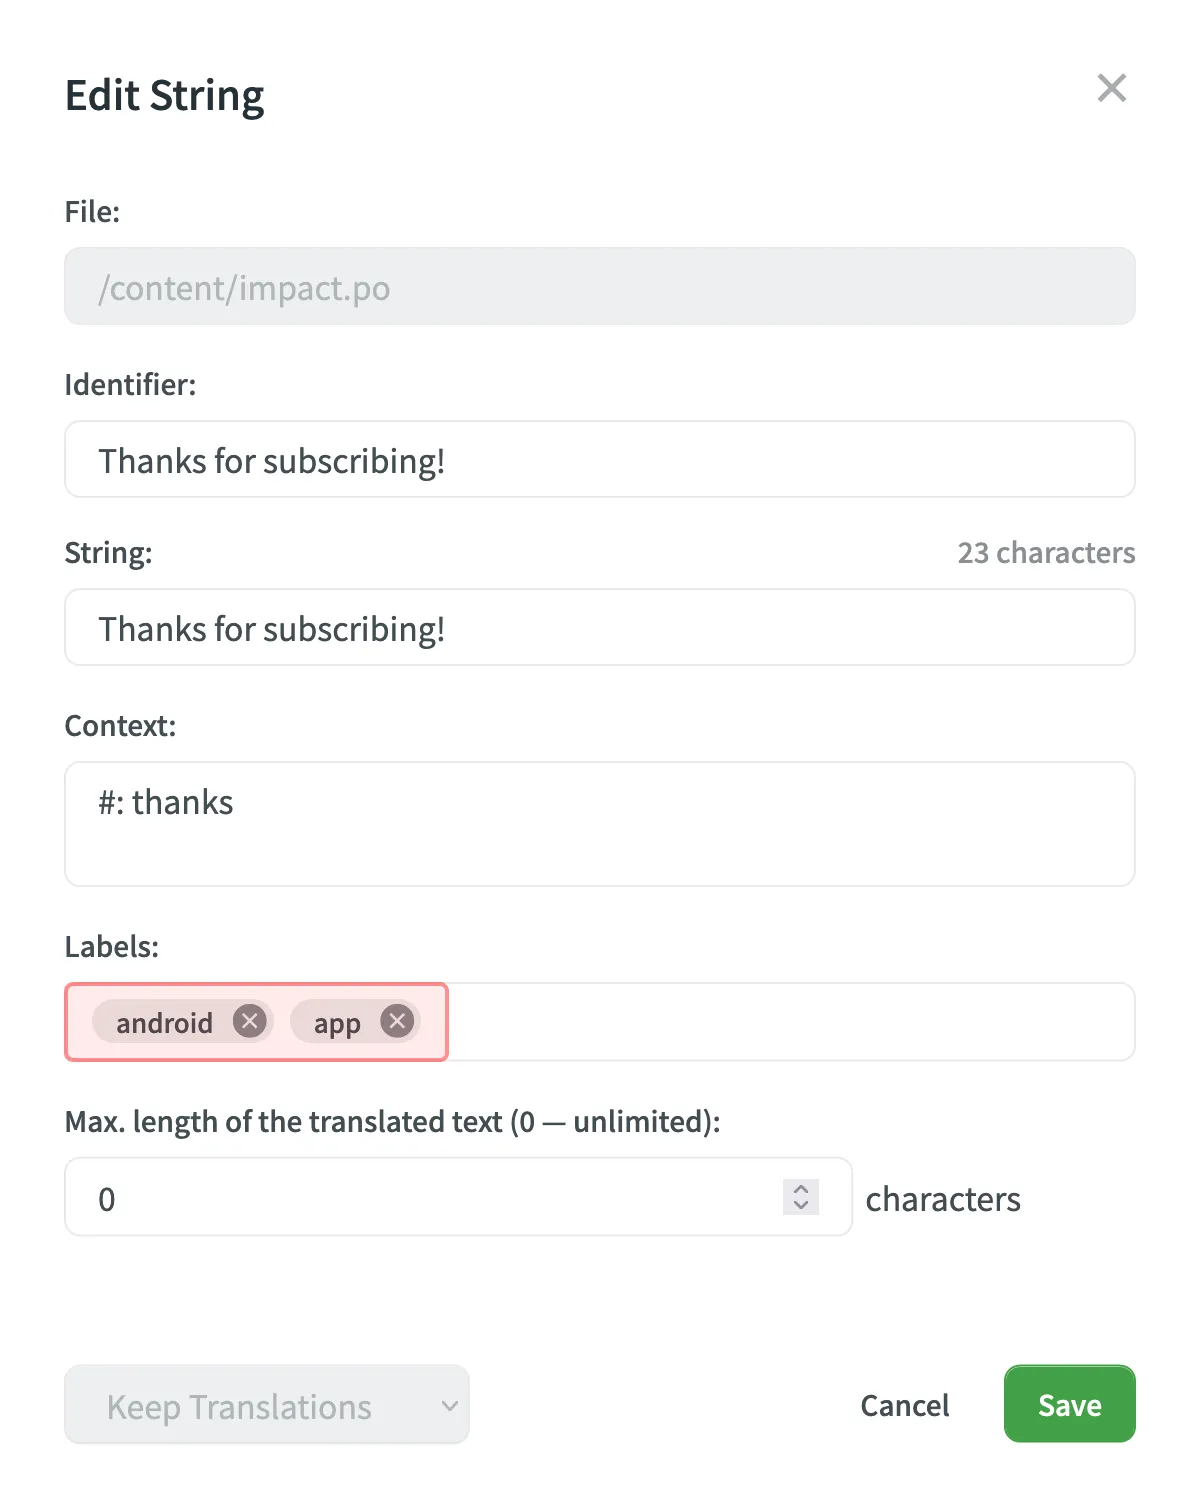
- Click Save.
Add labels to multiple strings via the Manage Strings Labels dialog
- Select a few strings you want to add the same labels to.
- Click Labels.
- Select needed labels in the Labels to be added field.
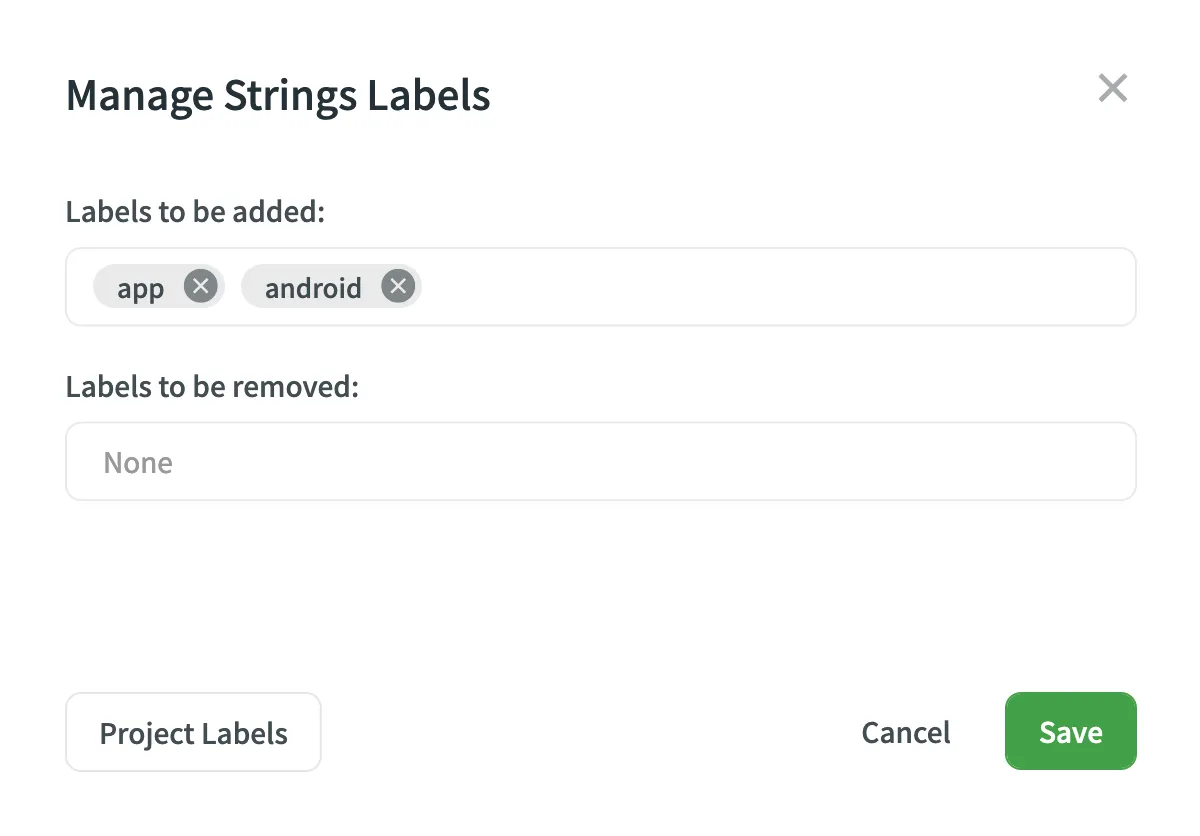
- Click Save.
Add labels to the source strings in CSV and XLSX files using a dedicated column for labels
Read more about Configuring Columns for Import.