Fields
Fields are custom properties that allow you to enhance work organization and data management in Crowdin Enterprise by adding additional helpful information, links, or data to various entities like your projects, user accounts, tasks, and more.
Fields offer flexibility and customization to suit various use cases, whether marking critical projects, categorizing tasks, or adding contextual information to user accounts. This allows for enhanced clarity on work happening within a Crowdin Enterprise organization. Fields can be created and managed either via UI or API.
Fields are also often created by Crowdin Apps. Usually, it’s best to preserve custom properties created by Crowdin Apps as they are.
Use Cases
You can use fields in numerous scenarios. Here are a few examples:
- Project Prioritization – mark critical projects with a custom checkbox field, allowing easy identification and prioritization.
- Task Categorization – use custom labels or the select lists to categorize tasks based on specific criteria or attributes.
- User Customization – add fields to user accounts to store additional information or preferences.
- Crowdin Apps Integration – fields may serve as storage for app-specific information, facilitating integration with third-party applications.
Terminology
- Field – a customizable data entry point, allowing users to input specific information.
- Entity – an object to which fields can be added (e.g., Project, Task, User, File, or String).
- Location – the area within the UI where the field will be displayed.
Permissions
Fields can only be created and edited by the organization owner and admins either through UI or API. Once created, fields can be used by users with the appropriate roles in the organization. For example, a user who can create projects will be able to view and apply a field in the Create project dialog or in any other location available to the entity of the field.
Creating New Fields
To create a new field, follow these steps:
- Go to Organization Settings > Fields.
- Click New field.
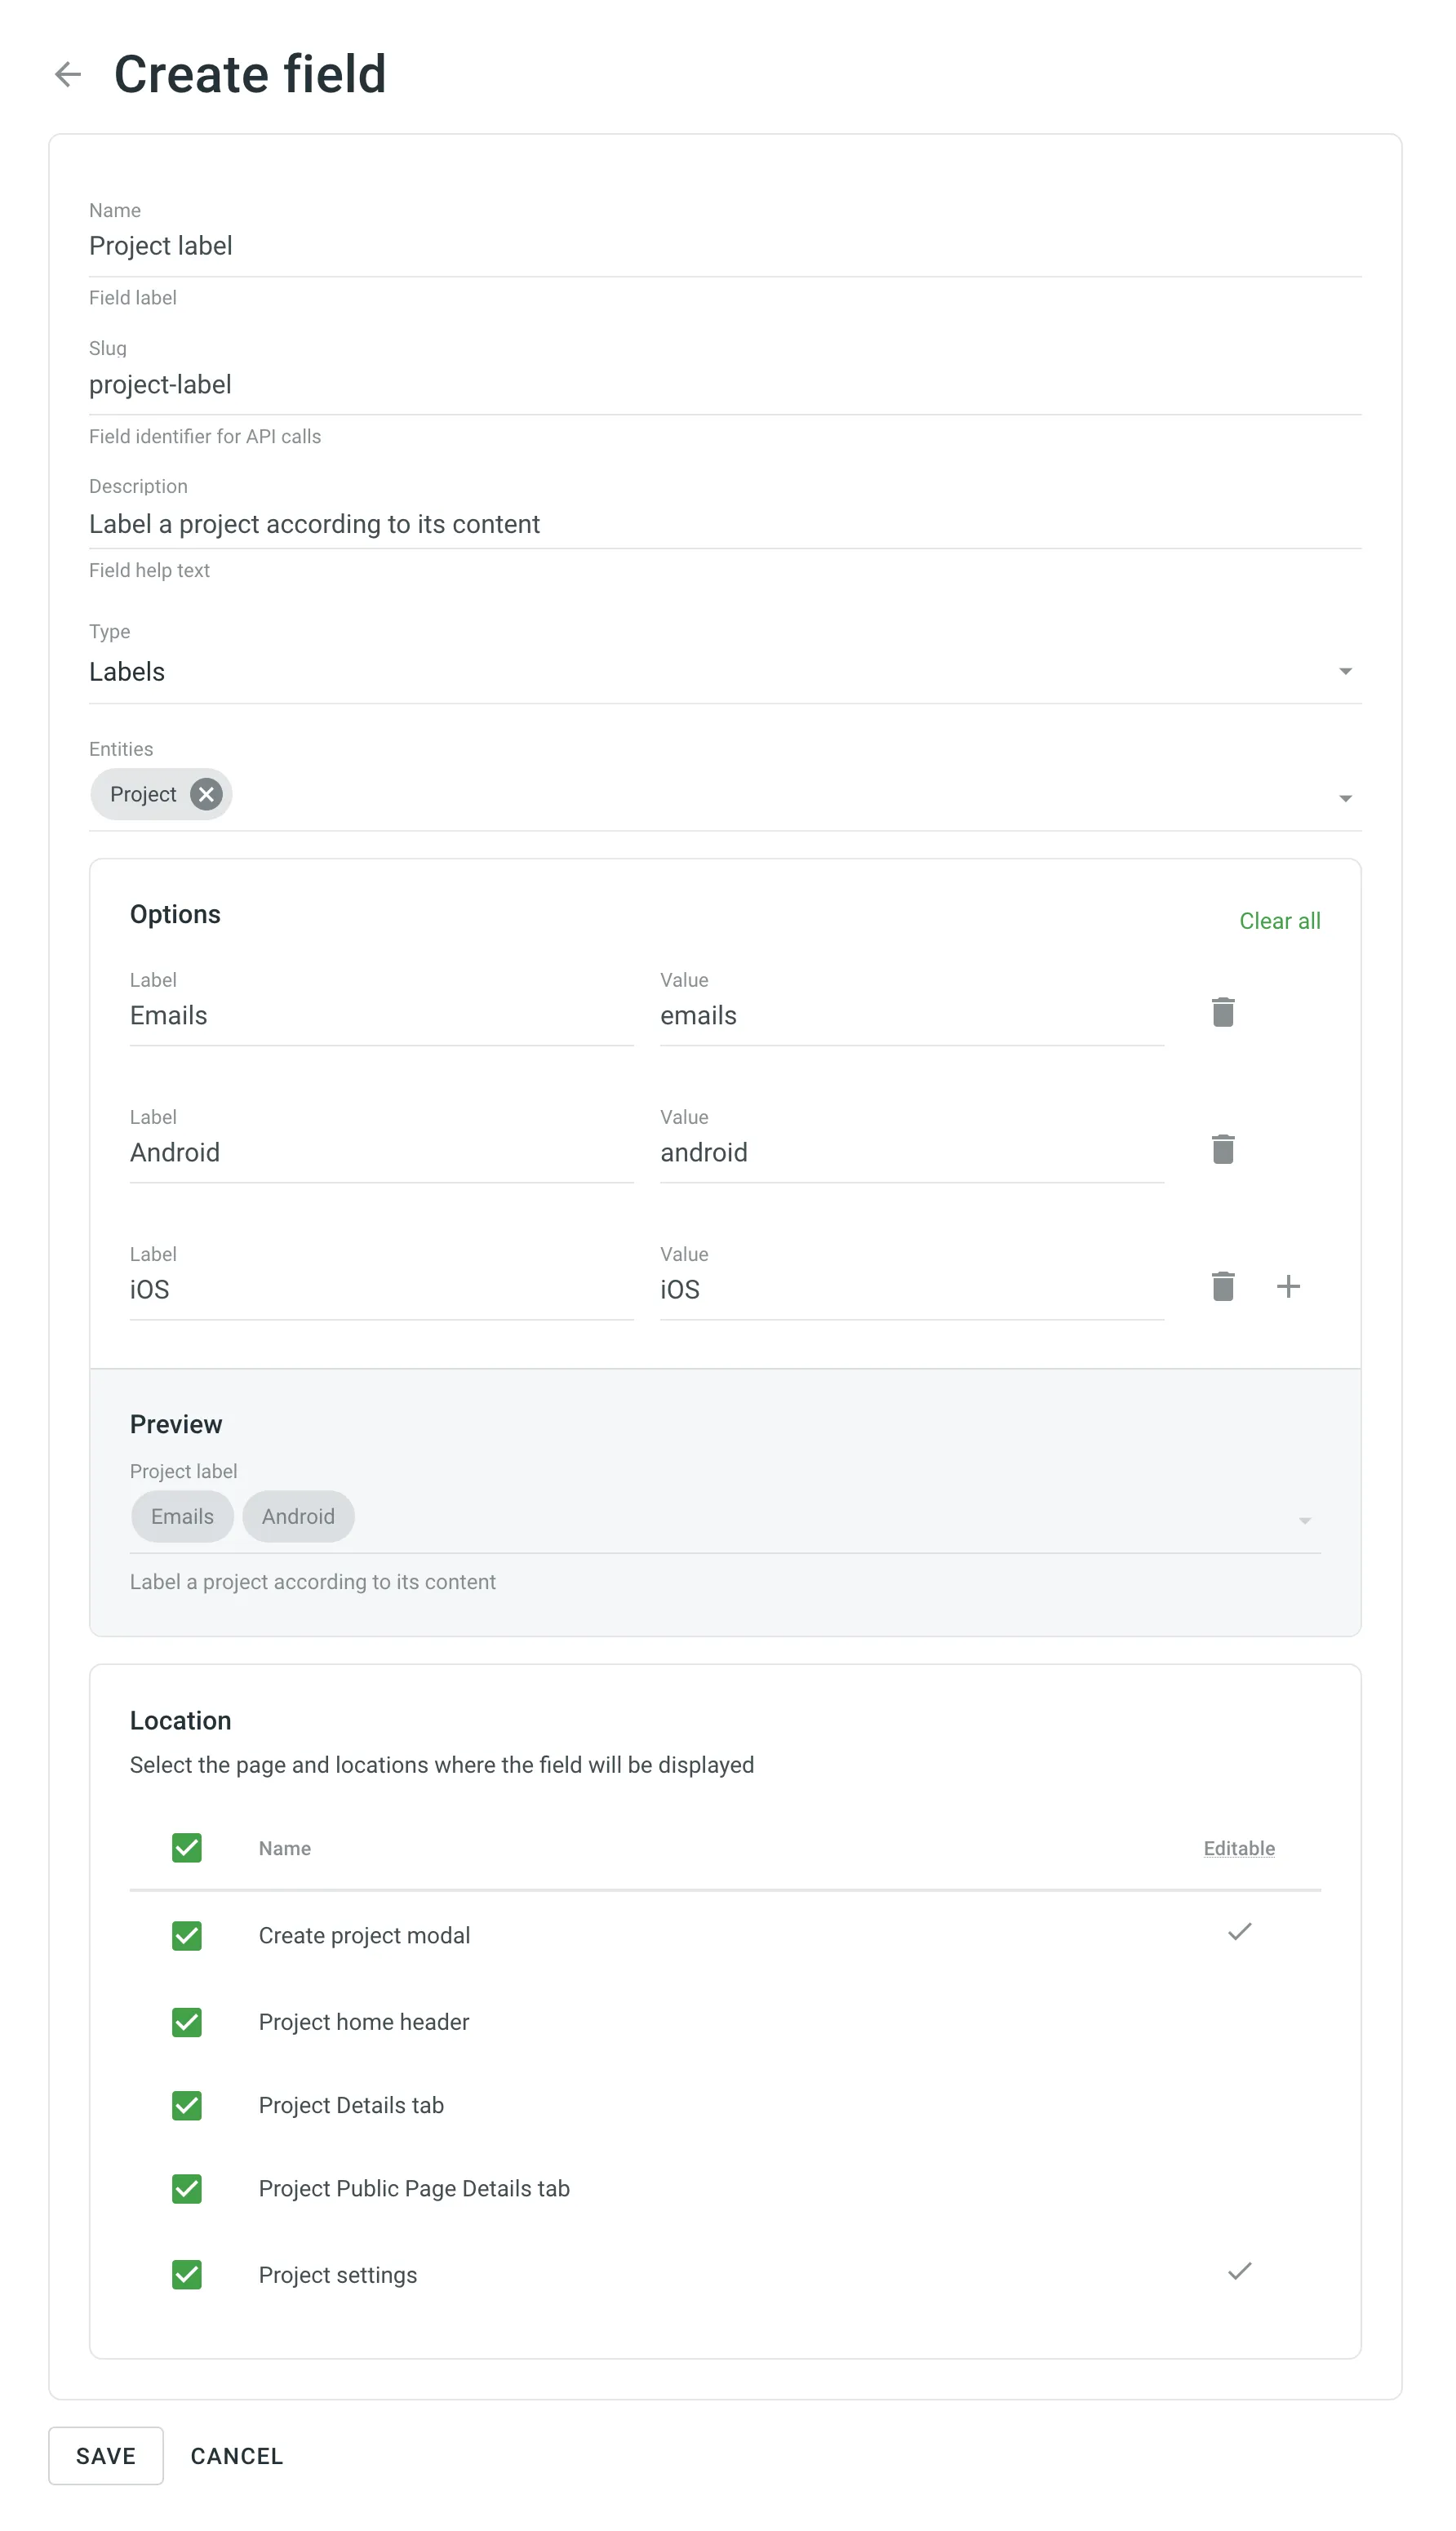
- Set the field parameters:
- Name – specify the field name that will appear in the UI.
- Slug – specify the unique field identifier to be used in API calls.
- Description – specify additional information that will be displayed as auxiliary text under the field.
- Type – select the type of field.
- Entities – select one or multiple objects to which you want to apply the field.
- Location – select the specific pages or modals where the field will be displayed.
- Click Save.

Managing Fields via API
Fields can be created using API methods from the Fields category.
Once a field is created, you can use it with the preconfigured entities with the Patch and Get API methods:
- List Projects
- Edit Project
- List Tasks
- Edit Task
- List Users
- Edit User
- List Files
- Edit File
- List Strings
- Edit String
Editing Field Values
You can edit field values in two ways: via the UI or API.
Editing Field Values via UI
Once created, fields can be added to editable locations within the UI, allowing users to input or modify data as needed.
Editing Field Values via API
Once a field is assigned to an entity, its value can be edited via API. For this, add a new parameter field to API calls that support fields. The parameter field should contain an object with the key as the field’s slug and the value as the field’s value for the specific entity (e.g., {"fieldSlug": 2}).
Field Types
Crowdin Enterprise supports various field types, each of which meets different data entry requirements:
- Radio Buttons – Presents a list of options with single selection capability. During the creation, it necessary to configure a list of options. Each option has a value and a label. The value must be unique. In view mode, displays a selected option.
- Checkbox Field – Accepts true/false values, often used for binary options. In view mode, displays an icon.
- Date Picker – Allows users to select a date from a calendar widget. In view mode, displays date as a string.
- Date & Time Picker – Similar to Date Picker but also includes time selection. In view mode, displays date and time as a string.
- Number Field – Accepts numeric input within specified ranges. Optionally, you can add units to be displayed next to the numeric input.
- Labels – Offers options for multiple selection. Each option has a unique value and label. Allows users to create new options. In view mode, displays selected options as chips.
- Select List (Single Selection) – Offers options for single selection from predefined lists.
- Select List (Multiple Selections) – Similar to Labels but doesn’t allow users to create new options.
- Text Field (Plain text only) – Provides a single-line text input field.
- Textarea Field (Markdown enabled) – Offers a multi-line text input field, supporting Markdown formatting.
- URL Field – a text field designed for inputting URLs.
Each field type can be customized according to your needs for specific use within Crowdin Enterprise.
Entities and Locations
Below you can view the list of supported entities and their respective locations the fields can be added to.
- Project:
- Create project modal (Editable)
- Project home header
- Project Details tab
- Project Public Page Details tab
- Project settings (Editable)
- Task:
- Task Create/Edit page (Editable)
- Task Details page
- User:
- User popover
- User Details sidebar (Project Members page)
- User Edit modal (User management page) (Editable)
- File:
- File Details sidebar
- File Settings modal
- String:
- String details (Editor)
- String Edit modal (project Strings tab and Editor) (Editable)
Fields in the UI
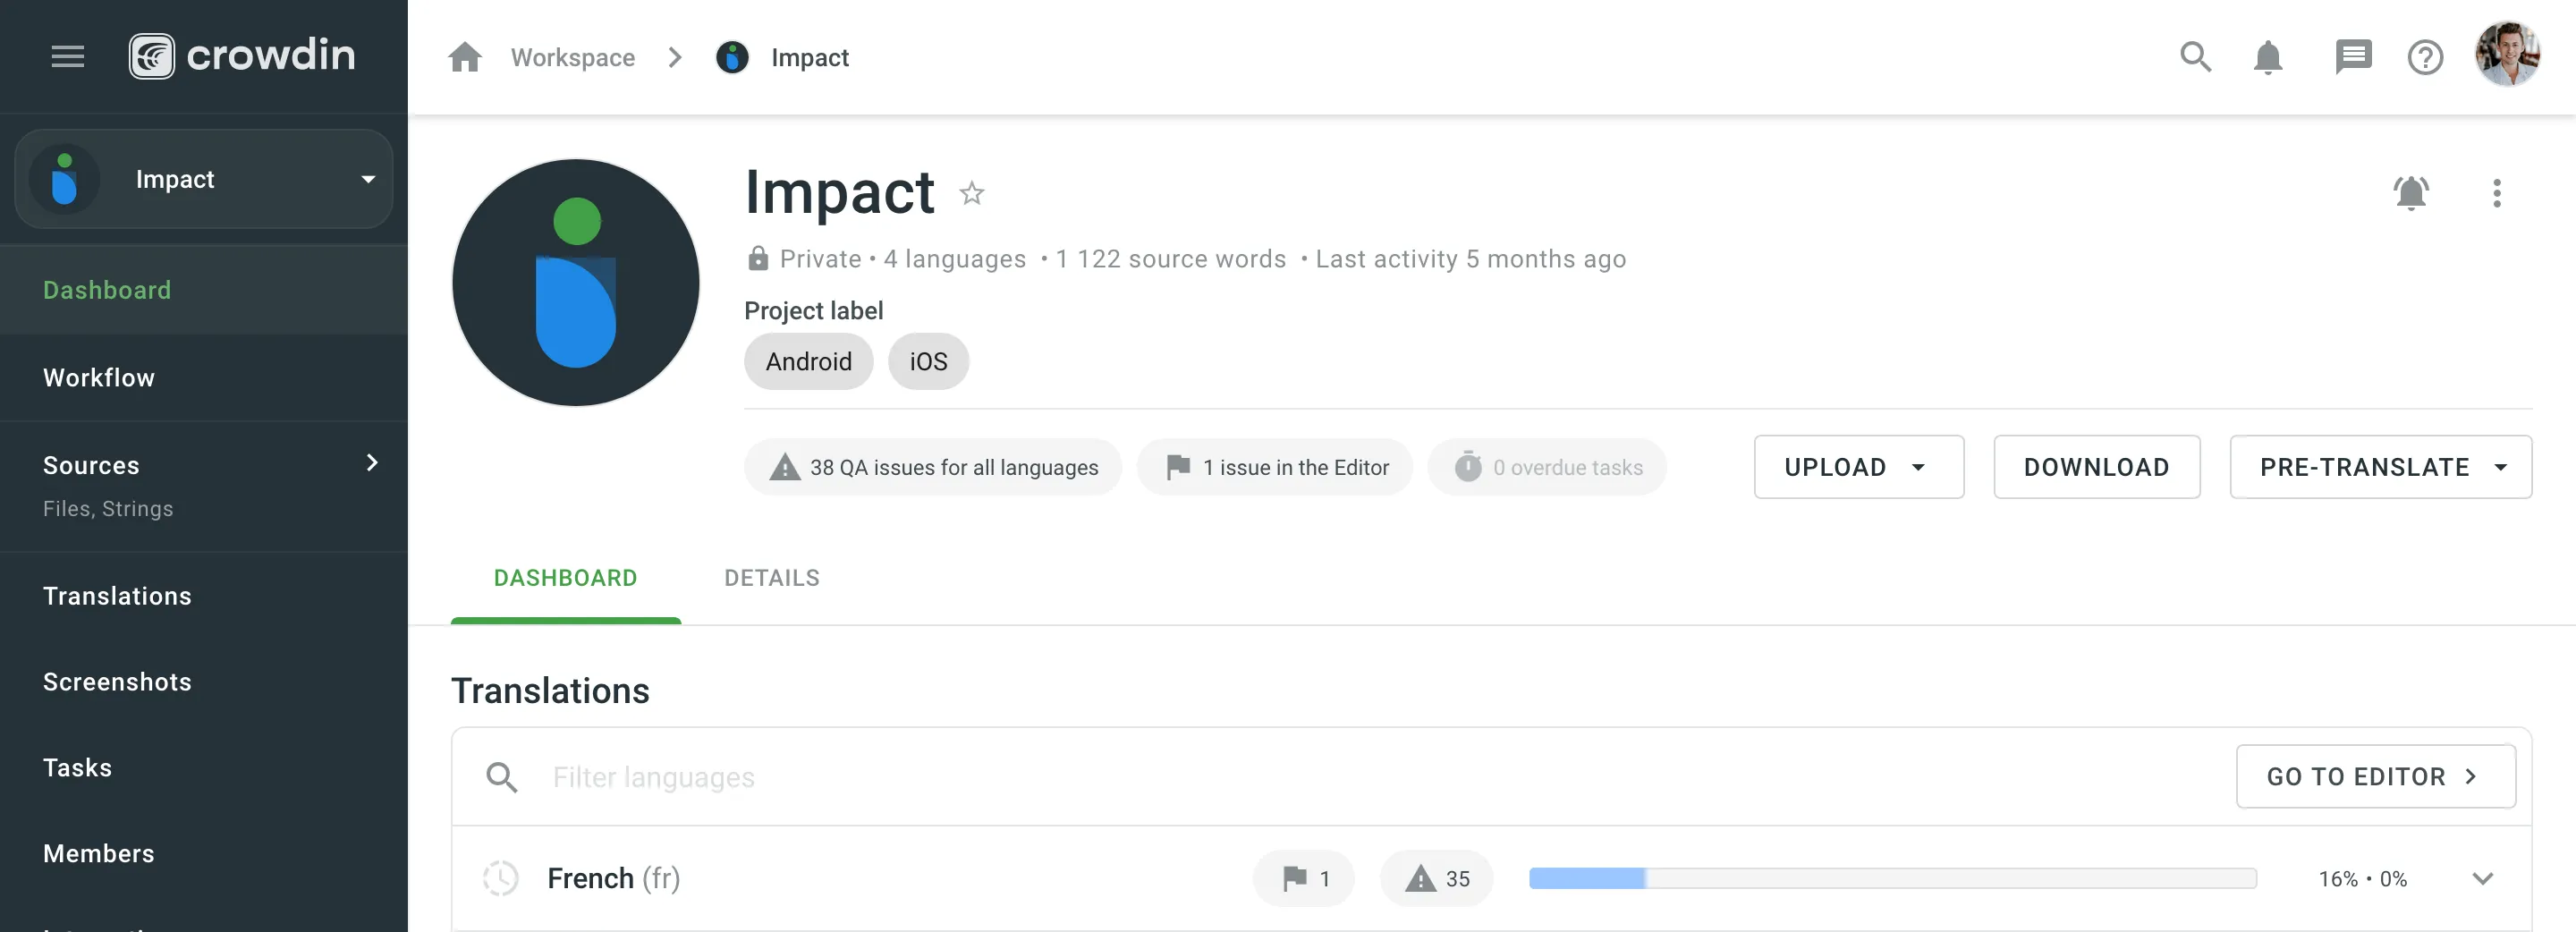
Once the fields are assigned to the needed locations in the Crowdin Enterprise UI (e.g., Project), users will be able to see and/or interact with them if possible.
